This is the trunk I'm working on. The fiber board on the outside was bubbled on the top so I had to tear it off. Not much to look at now, is it? No fear. It'll be awesome by the time I'm done (I hope).

The first ting I did was to reinforce the bottom to give the feet something to hold on to. I cut two pieces of pine board to fit inside the trunk.

I put the pine in the trunk, glued it down, and nailed it in. Nail through the front and back of the trunk first then through the sides, so the pine doesn't move off the corner as you nail.

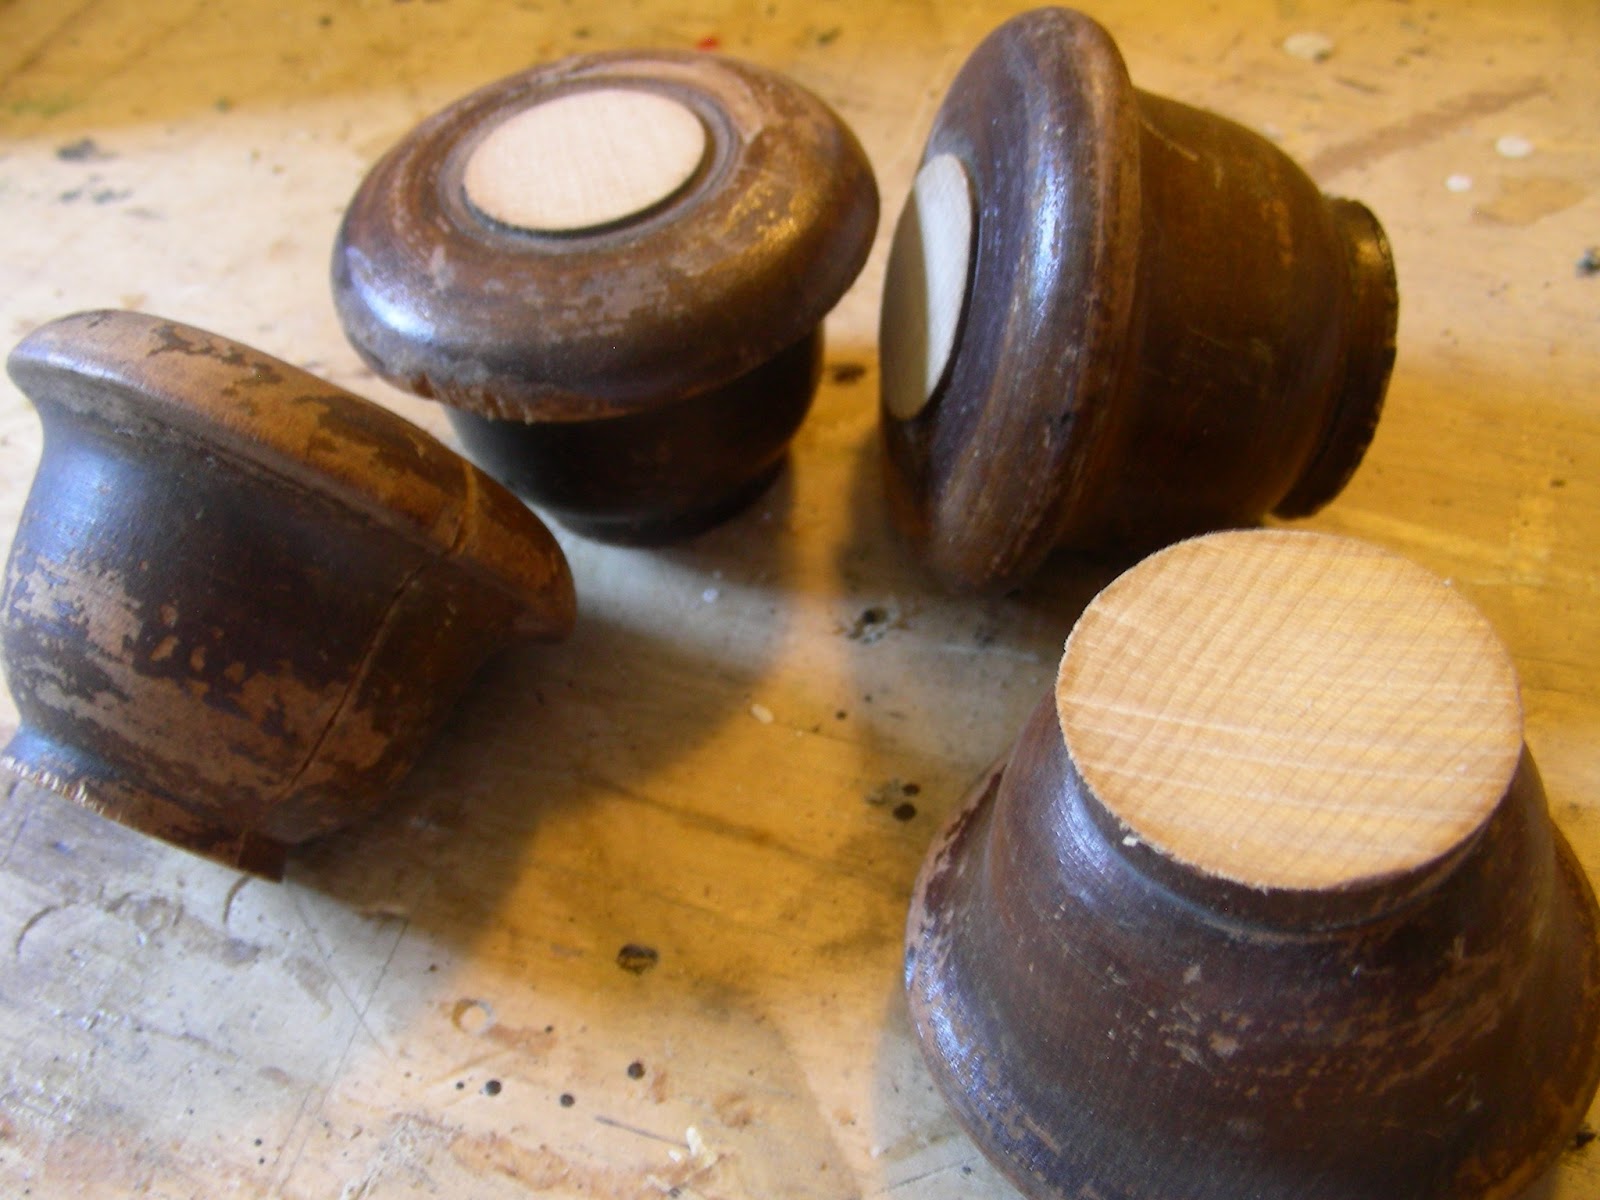
This is what I'm using for feet. They are actually pieces of a spindle from an antique bed that I got on the side of the road.
I placed them where I thought they looked good and marked the spot on the bottom of the trunk.
Then I made a template so I wouldn't have to do a lot of measuring for the other corners. Make sure your template is square and mark which are the front/back and which are the sides on both sides of the template as you will have to flip it over for 2 of the corners.

Mark the center and drill a hole for your bolt.


That thing on the end of the bolt is called a wood insert nut. I use these to attach the feet. Mark the center of each of the feet and drill a hole just deep enough to accept the wood insert nut. Spin the other nut down to the wood insert nut to lock it in place, Slather some glue on the wood nut and screw it into the hole you made in the feet. Loosen the regular nut and unscrew the bolt.

Drill a hole through the bottom on the mark you made, put a bolt through, and screw on the foot.

No comments:
Post a Comment